

Secret Service Quest
The Secret Services from Carlin, Thais, and Venore want to find out all secrets in Tibia...
Begin: Thais, Venore or Carlin. Includes travel through all of Tibia.
Reward
Dangers
25


Required Equipment
History
Before Update 8.50, the Mysterious Package was unusable. After Update 8.50, they became usable, and players then obtained one of the Secret Agent Tools depending on which secret service they did missions for.
Introduction
This quest is somewhat different. The quest has 3 branches, one for each of the main cities' brigades. Carlin has CGB, Venore has AVIN and Thais has TBI. They all have the same final mission, and the rewards are very similar. Note: You can only complete one branch, and once you have started it, you cannot change.
The final mission can be difficult and it is strongly recommended that you either have a team, complete it as a high level, or purchase the Technomancer Beard from Black Bert (The Thieves Guild Quest required). Keep in mind that players who have already completed the quest can still enter the final room, so you can also ask a higher level friend to pick one up for you.
For comparison, here are the three rewards. The main function of cave traversal (shovel, rope, pick) are features of all tools so rarely will you make a decision based on its features.
| Branch | Rope |
 Shovel |
 Pick |
 Machete |
 Crowbar |
 Kitchen Knife |
 Scythe |
 Sickle |
 Spoon |
 Juice Squeezer | |
|---|---|---|---|---|---|---|---|---|---|---|---|
 Whacking Driller of Fate Whacking Driller of Fate
|
TBI | 
|
|
|
|
|
|
||||
 Squeezing Gear of Girlpower Squeezing Gear of Girlpower
|
CGB |
|
|
|
|
|
|
| |||
 Sneaky Stabber of Eliteness Sneaky Stabber of Eliteness
|
AVIN |
|
|
|
|
|
|
Jump to Faction:
TBI (Thais) - Whacking Driller of Fate
CGB (Carlin) - Squeezing Gear of Girlpower
AVIN (Venore) - Sneaky Stabber of Eliteness
Mission 1 - From Thais with Love
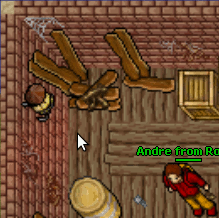
Go to the NPC Chester Kahs and say join, yes, mission. He orders you to get a Firebug, and then go to Venore's shipyard. When there, go to the north-western corner (here). Use the firebug on a tile close to the wood and it will start to burn. When somebody sets fire on the docks, it burns for 7 minutes, the next player can only set fire again when the fire is over. Return to Chester and ask for your next mission.
Mission 2 - Operation Green Claw
Chester Kahs is missing an agent, and the agent is none other than the Black Knight. Follow the way for the Black Knight Quest (You will need the Key 5010) and open the sealed door with a box. You will receive a parchment. Return to Chester and ask for your next mission.
Mission 3 - Treachery in Port Hope
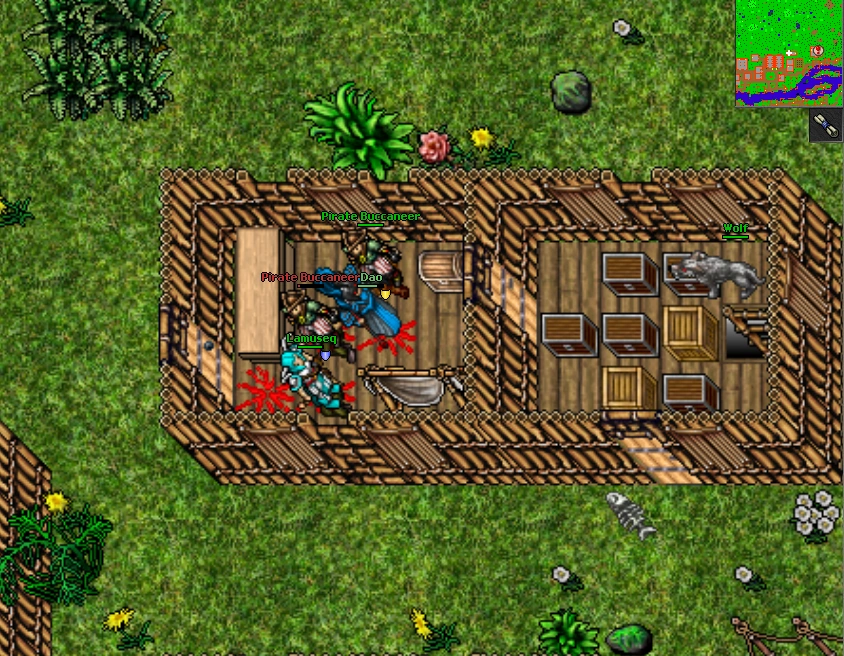
Chester Kahs wants you to investigate the inhabitants of Port Hope and search their belongings for proof of treachery. Go to the depot in Port Hope. Northeast of the depot, you will find a small building (here). As soon as you go inside, you will be attacked by 2 Pirate Buccaneers. After killing them, grab the scroll from the chest and report back to headquarters.
Mission 4 - Objective Hellgate
Chester Kahs wants you to investigate for some documents in Hellgate. Go to Hellgate (you will need Key 3012 to enter) and find the dead body. It's located in the beginning, past lots of Ghouls, Skeletons and 2 Demon Skeletons. There is a chance a vampire boss spawns there as well.
Starting at point A follow the pink line to the Sealed Door, at point B. Open it to find the dead body, use it to get Intelligence Reports.

Mission 5 - Coldfinger
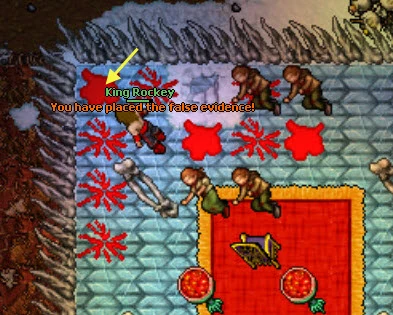
Chester Kahs wants you to travel to southern barbarians camp. If you have completed Barbarian Test Quest you can travel there with Buddel (say passage, camp, he may take you to the wrong place, as he is drunk. Say passage again to verify where you are). Otherwise you can travel to barbarian camp through the glacier. When you get there, go to the top of Ice Witch Tower (here) and use the Suspicious Signet Ring that Chester Kahs gave you on the north-western corner of room. An orange message should appear if you've done it right. Then report back to headquarters.
Mission 6 - The Weakest Spot
Chester Kahs wants you to disguise yourself as an amazon. Go to the Tavern in Svargrond, hereand go down into the cellar. When you are in the cellar, use the disguise kit and then use the crowbar on the beer casket in the north-east corner. Two Barbarian Skullhunters will spawn, kill them.
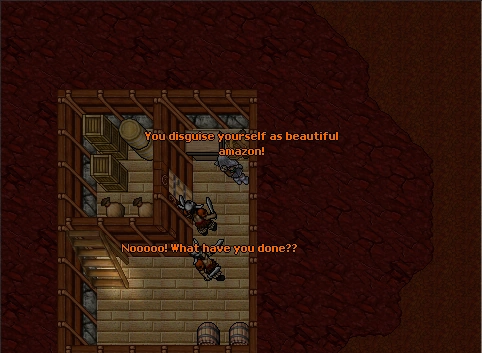
Be careful: When you use the disguise kit, destroy the beer casket fast, as the disguise vanishes after approximately 20 seconds. You can rebuy the kit for 1,000 gp from Chester Kahs if necessary.
Return to the Chester Kahs after that to complete your mission.
Mission 7 - Licence to Kill (TBI)
Chester Kahs wants you to kill the Mad Technomancer in Kazordoon. As a proof bring his beard to your spymaster. The Technomancer is located close to Talphion. He spawns in a room with a lot of Dwarf Henchmen, a few Stone Golems and some Mechanical Fighter, when pulling a lever in the middle of this room, you are advised to use maximum haste from the stairs, pull the lever, run back before the henchmen surrounds you [note: the henchmen will respawn QUICKLY, so be fast], and slowly lure the technomancer to stairs. When the technomancer dies, you will loot his Technomancer Beard.
How to get there:
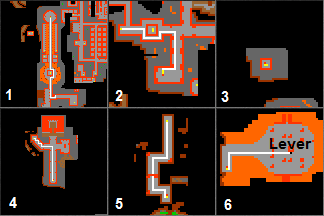
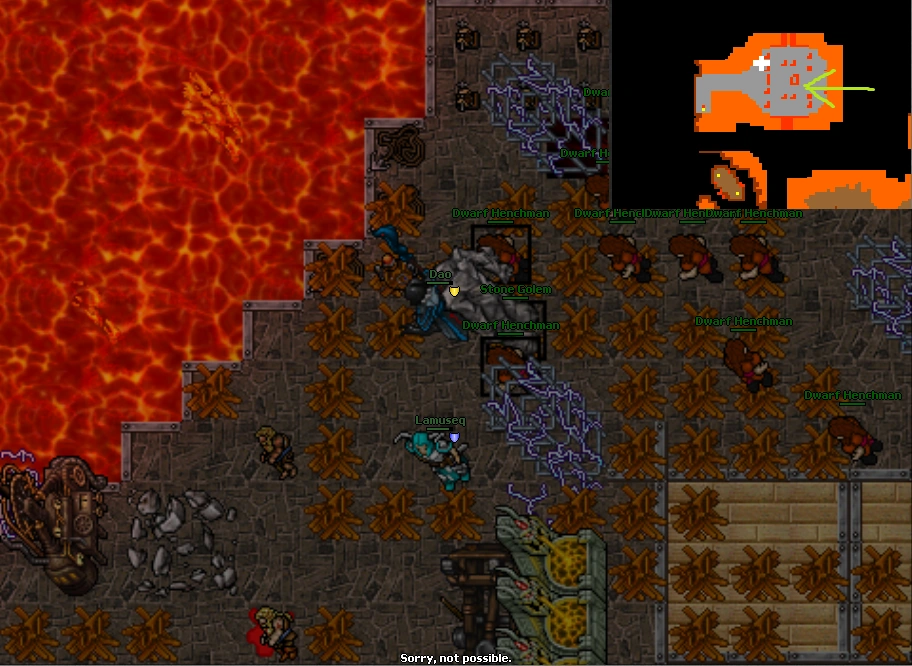
Strategy: Use Haste to outrun the Dwarf Henchmen (killing them all is not possible because they spawn very fast!), pull the lever and get back to stairs.
On your way back lure the Mad Technomancer and kill it. It does not matter who in in the party kills him. But everyone who wants the beard will need to go and pull the lever. He always drops his beard.
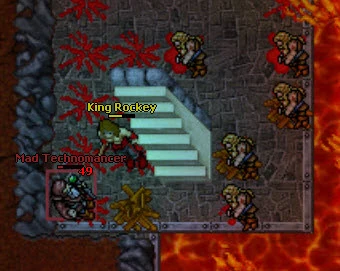
Go back to Chester Kahs and talk about your mission. If you were unable to kill the technomancer you can try again asking Chester Kahs to "restart" that mission. He will grant you the title "Top Agent" and give you a mysterious package.
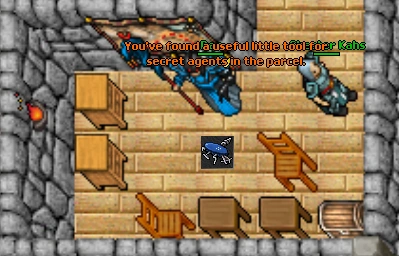
You see a mysterious package. It weighs 10.00 oz. It bears the seal of the TBI.
Use it and you will get your reward - Whacking Driller of Fate
Mission 1 - For Your Eyes Only
First you have to talk to the NPC Uncle in Venore, he is south of the boat, 2 floors up, here. Say hi, join, yes. Then ask him for your first mission.
He tells you to deliver a Secret Letter to Gamel in Thais. Coming from the ship in Thais, you will find Gamel in the first house east of the ship, one floor down. Say hi, he will then summon 2 Bandits, kill them and say hi again. Give him the letter. Return to Uncle and say mission, yes.
Mission 2 - A File Between Friends
Ask Uncle for another mission. This time Uncle wants you to steal a file called File AH-X17L89 from the castle in Thais. Travel there. In a room to the south of King Tibianus' throne room, you can find a staircase. Go up there. You will see a special door inside another room on that floor, go there, open the drawers and get the file. Return to Uncle and report your mission.
Mission 3 - What Men are Made of
Ask Uncle for a mission again. He will tell you to bring a barrel of beer (It weighs 85 oz, so have some cap ready!) to Carlin, the Secret Tavern in the sewers. Once you are down into the sewers, two Amazons will be summoned. Talk to the NPC (Karl) behind the counter and say barrel of beer. After he got the barrel of beer return to Uncle and say mission, yes once again.
Mission 4 - Pawn Captures Knight
Now you will have to travel to the Black Knight's Villa and kill a Black Knight (you may need the Key 5010). If you're going in a party, every member of the party must kill the Black Knight once (dealing the most damage). Return to Uncle and say mission, yes yet again.
Mission 5 - A Cryptic Mission
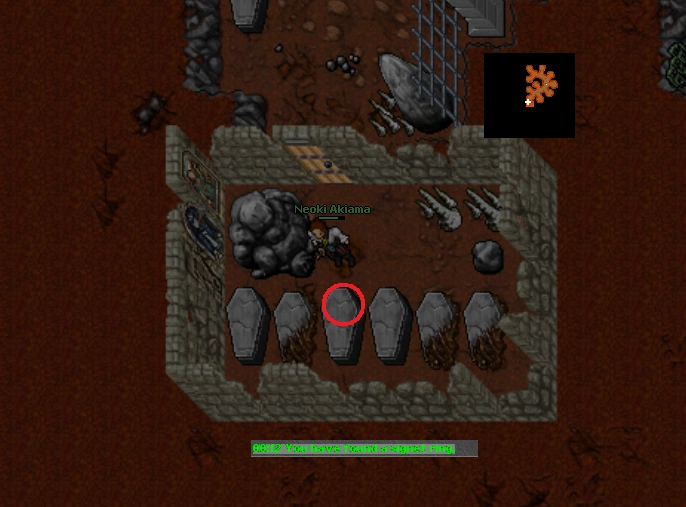
Ask uncle for another mission, you need to find a ring. It's deep in Isle of the Kings tombs. Go down the catacombs until you reach the first "real" cave, once there kill everything and go as far southwest as possible. You will find a door with a blinking handle on it. Go in and get the ring as pictured below.
Note: If This is your first visit at the Isle of the Kings then talk to NPC Costello about the keyword Brother Fugio.
Mission 6 - A little bribe won't hurt
Mission 7 - Licence to Kill (AVIN)
A dwarf has blackmailed venore. Your next mission will be to kill the Mad Technomancer and retrieve his beard as proof of his demise.
This is the hardest mission with non-stop respawn of Dwarf Henchmen. I suggest bring a high level knight to block and a high level mage to UE or shoot GFB. You will have to pull a lever for the dwarf to come out and he will be summoned with a lot other Dwarf Henchmen. Now just go back to Venore and tell Uncle hi, mission, yes one last time.
When you use the package:
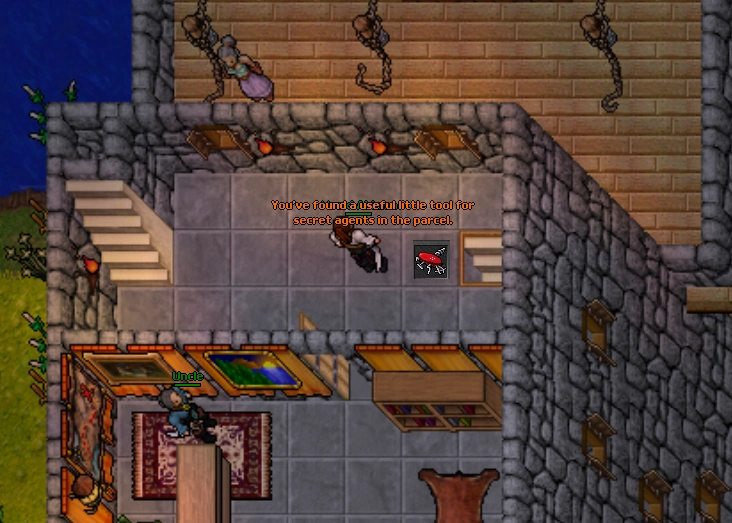
You will get your reward: Sneaky Stabber of Eliteness
Mission 1 - Borrowed Knowledge
First you have to talk to the NPC Emma in Carlin, she is above the prison with Shauna, east of the city. Tell her that you want join CGB, agree with yes and then ask for your first mission. Find and steal a Nature Magic Spellbook in the Edron academy. Go to Ivory Towers library and get the book behind a questdoor here.

Mission 2 - Codename:Lumberjack
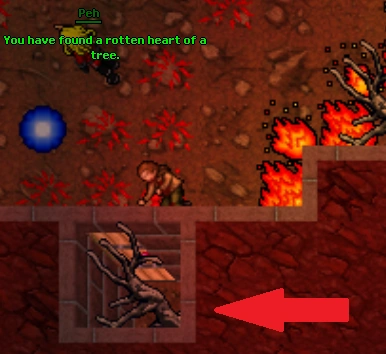
Emma tells you to go to the Black Knight Villa in Greenclaw swamp north-west of Venore. You have to get to the room of the Black Knight Quest and kill the Black Knight, close to the teleporter there is a tree behind a sealed door, use it and you'll receive Rotten Heart of a Tree. Go back to Emma and report about your mission.
Mission 3 - Rust In Peace
This time Emma wants you to damage the Ironhouse of Venore. She gives you a Case of Rust Bugs and tells you to use it with the keyhole in the cellar of the ironhouse. Use it at the door hereand a Bug Trail will appear behind it. After you've done that, go back and report about your mission.

Mission 4 - Plot for A Plan
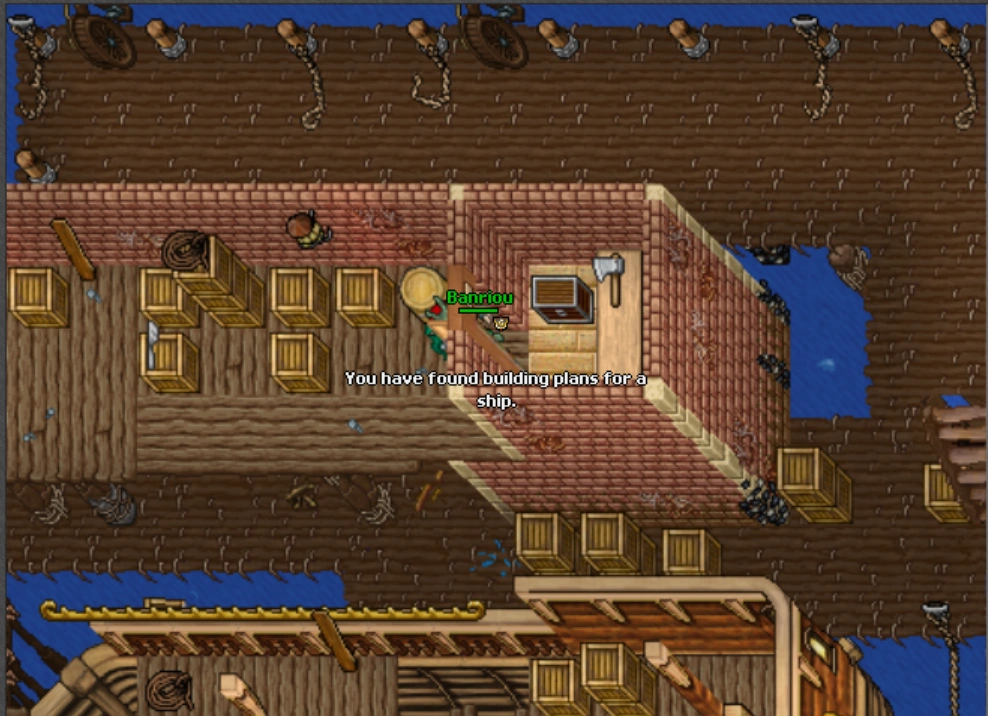
Emma wants you to go again to Venore. She wants you to bring Building Plans for a Ship. You will find those plans at the shipyard, which is situated north-west in Venore (here). Get the plans and report Emma about your mission.
Mission 5 - No Admittance
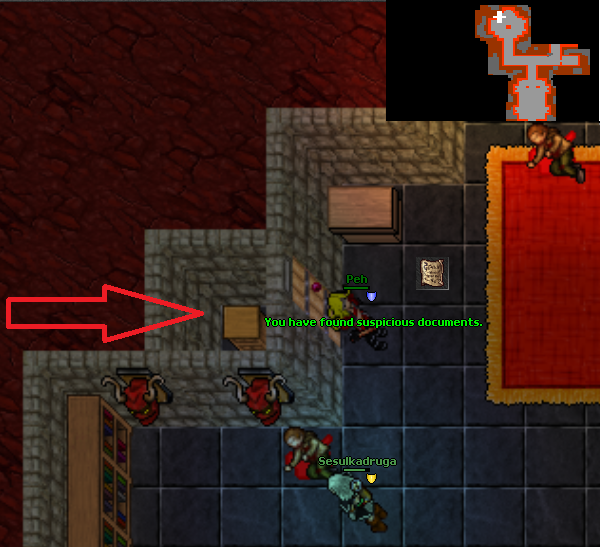
Your next secret service mission is to find hints in the ruins of Dark Cathedral. Be prepared to face all Dark Cathedral monsters, you'll need go to the deepest level, the same floor where Angelina lives. To go there, all the levers should be pushed to activate the teleporter (it will be a lot easier if you bring a few friends to help). In the north west room there's a questbox with the Suspicious Documents, here. Take it and bring it to Emma.
Mission 6 - News From The Past
Here you can start The White Raven Monastery Quest. Get the Family Brooch and turn it back to Dalbrect.
hi - passage - project - name - carlin - ship - passage - brooch - yes - yes
then ask for a passage again. If this is your first arrival at Isle of the Kings, talk to Npc Costello about keyword: Brother Fugio, you will be able to pass the door to the left in order to go down.
Grab this book in the Isle of the Kings. Go to White Raven Monastery, you don't need to go to the caves, the book is in a crypt and the only monsters you'll find are Ghouls, Skeletons and one Demon Skeleton. 4 floors below surface here
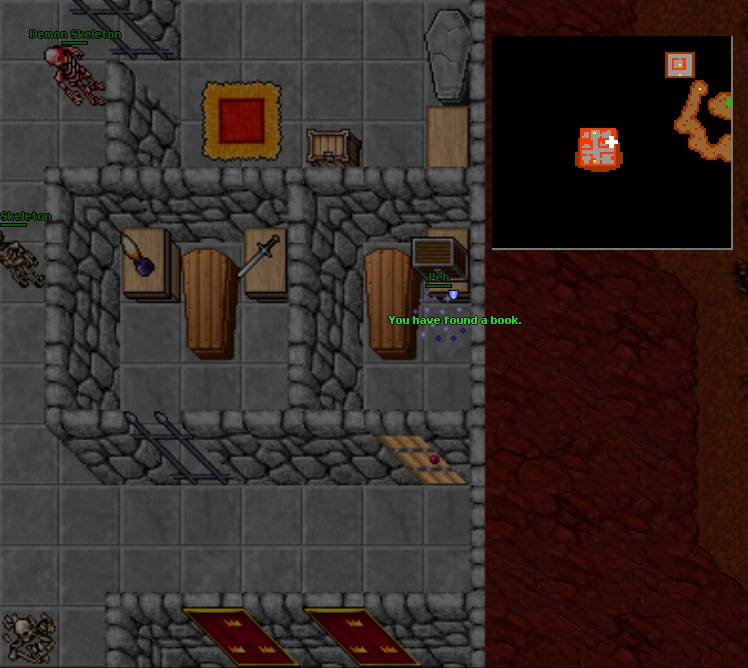
Note: You can make it a little bit easier with Invisible - only Ghouls will see you.
Mission 7 - Licence to Kill (CGB)
This is the hardest and final mission. Exactly the same AVIN and TBI final mission: kill the Mad Technomancer and bring his beard to your spymaster. Good luck in this mission!
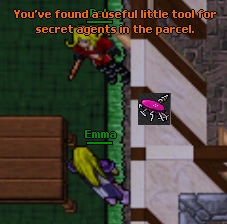
You see a mysterious package. It weighs 10.00 oz. It bears the seal of the CGB
And your reward for this will be Squeezing Gear of Girlpower.