
Treasure Hunt Quest
Arrr! Find the treasure...
Liberty Bay, Edron, Tiquanda, Nargor and more.
Reward
Dangers
2Required Equipment
Mission 1
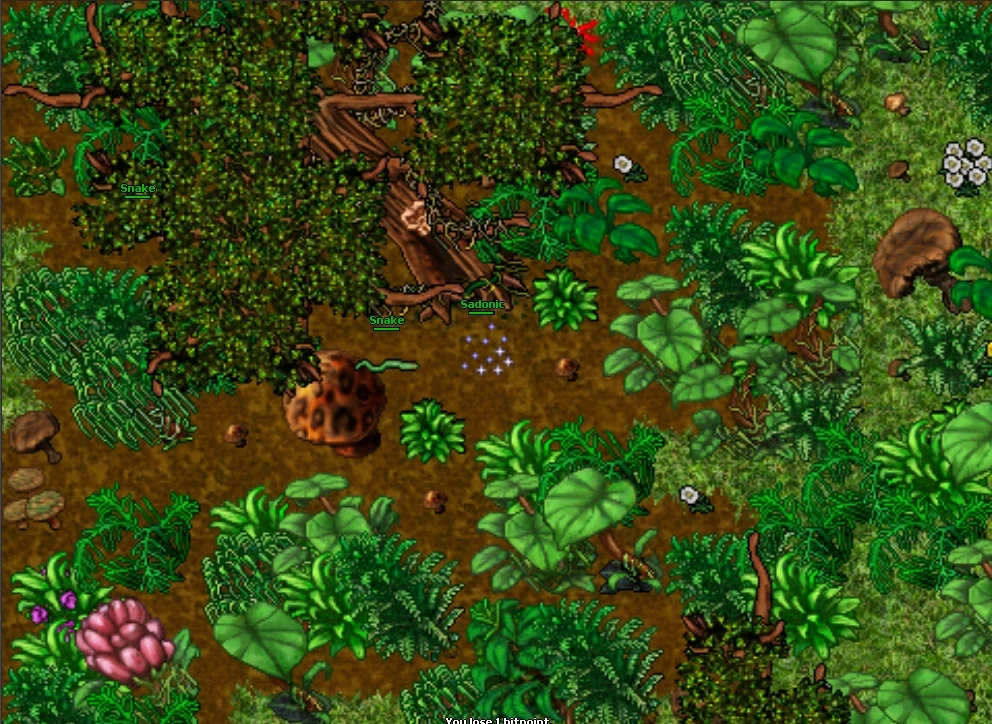

The carved tree in Tiquanda
Once you have the paper, start with using a Fire Bug on it. It will become an Old Encrypted Text which has to be examined by Wyrdin in the Magic Academy of Edron. Hand it to him and wait one hour (in real life) until he is done examining it. Now you can get the Old Pirate Poem (Book) from a chest past the sealed door near Wyrdin.
The poem hints towards a carved tree in the Tiquanda jungle. There are three such trees in the jungle, and each of them has a corresponding hidden shovel hole 17 squares west of them. The correct tree needed to progress in this quest can be found by going west from the entrance of Chor. Walk 17 square meters west from it and dig with a Shovel, around here. You will get down in a small cave with a few Dworcs.
Note: if you complete the next mission in the quest, you'll lose access to these three areas. For this reason, some players intentionally don't finish the quest.
Mission 2


Obtaining the first map part
You need to break the code to get the correct 4-digit number. Mathematically speaking there are 1296 possibilities, but neither of them will work until you perform a voodoo ritual. This ritual consists of using your Voodoo Doll on a pot in this room. Afterwards, look at it and note that a four-digit number has appeared as the item description.
To the east of the cave there are 4 dice. You need to roll them using their respective levers in order to match the 4-digit code shown on the doll. Input the first number at the northernmost dice and follow the sequence southwards.
If the number is correct you may go through the teleporter. Use The Remains of a Pirate to find the Top Right Part of a Map.


Mission 3
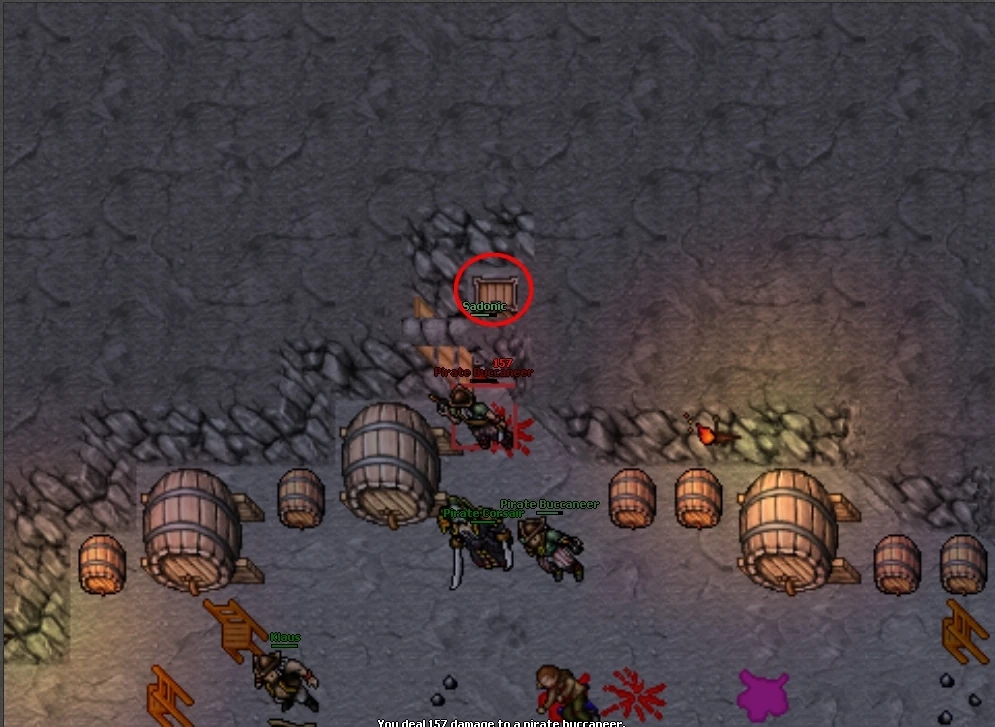


Getting Klaus' logbook
Speak with Klaus in the Nargor tavern and tell him about the map part you have found. He will sell you another map for 5,000 gold coins and allow you to get his logbook in the chest north of him. Read it, and ask him about 4 pirate names you have found in the logbook. He will tell you about the pirate map parts:
- You have already found the top right part inside The Remains of a Pirate during mission 2.
- The top left part is the one you just bought from Klaus before getting his logbook.
- The lower left part can be found by using the bottom part of a boatin the Waterfall Quest area.
- The lower right part is at the Mac Noodles, a buildingsouth of the Dwarven Bridge. To enter there use a Crowbar on the western door.


When you have all the 4 map parts with you, return to Klaus and talk to him. He will put the pieces together and give you a Pirate Treasure Map. Now you have to find someone who can read the map for you.
Mission 4
This mission requires at least 2 Cookies and a container with Rum, however it is recommended to bring more in case you miss a task. Rum can be bought at the Liberty Bay tavern. Alternatively you can fill Vials at the rum cask there. It is possible to restart the mission if you run out of stock.
Travel with Captain Waverider to Treasure Island. Once there, tell him about your pirate map and sail to Treasure Hunt Island. Upon arriving there you will find a passage up leading to a small Sugar Cane field and a passage down. Go down the ramp.
First Seal: The Riddle of the Snake

Snake head room
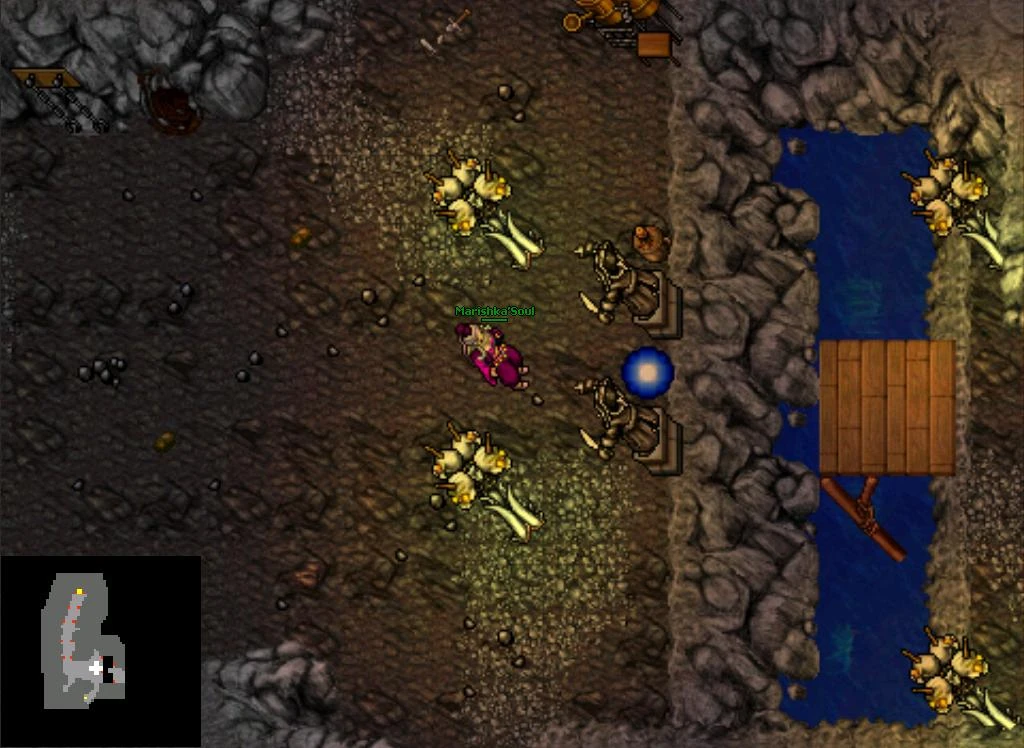

The bridge teleporter
In the center of this area you will find a snake head shrine with both a Coal Basin and an Empty Coal Basin. Use one of your containers with rum on the empty basin and try to get to the bridge teleporter (by the Pirate Statues) within less than 25 seconds. There are several ways leading up — the way going northeast from the snake head is probably the fastest (go up the ramp, walk east, levitate down, go through the teleporter and then run east to the teleporter).
If you have been fast enough you will be allowed to pass. Otherwise, you may try again using another rum flask on the basin.
Go down a few set of ramps and eventually you will find yourself in a room with two ramps. By going west and up, you will find a ramp that leads to the exit. Go down using the northeastern ramp to continue.


Second Seal: The Riddle of the Clean Ship Deck
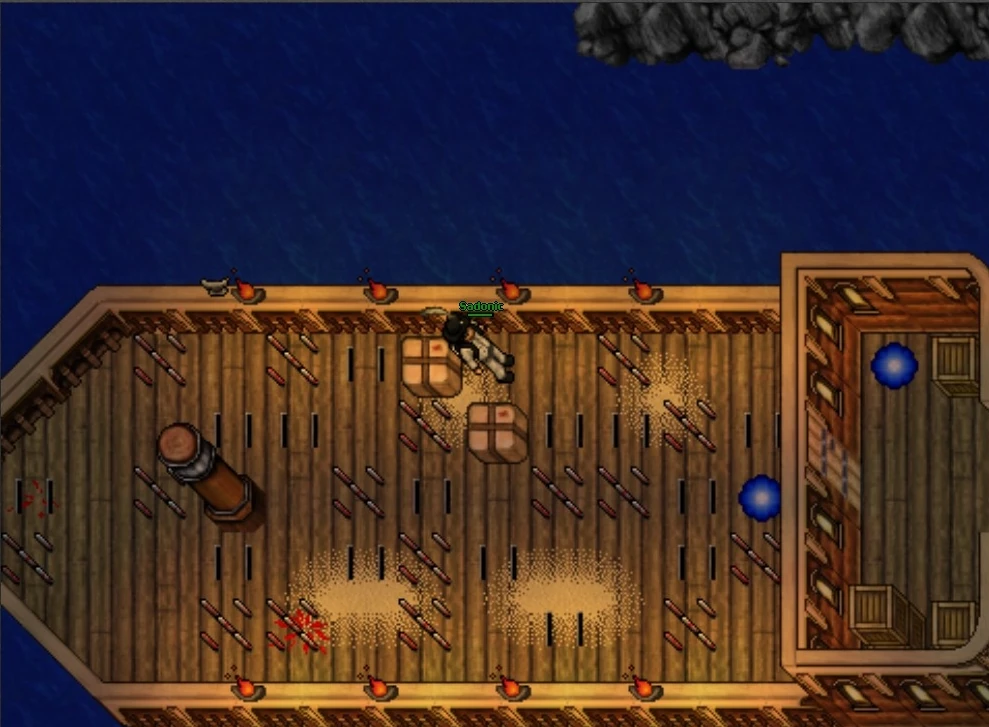


Walk through without getting hurt by any trap
Your goal is to reach the teleporter on the other side without being hurt by the blade and spike traps. Go diagonal to avoid the traps (if you can't go diagonal use parcels to do it). You cannot walk over the Strange Slits but you can pass the Spikes when they are inside the deck. If you get hurt you will have to wait the blood stains to vanish before trying again (if you don't like to have fun, wear an Energy Ring or cast Magic Shield and run through it).
Once you go through, you will be in a room with a few usable crates and a teleporter. If you want to go back, the teleporter will send you back to the bridge and you will be able to come back to this part of the quest whenever you want (you won't have to use the rum again). In order to continue, walk east.
Third Seal: The Riddle of the Sleeping Dead Pirates


The sleeping pirates hall
You need to cross the hall without wakening them. For every dead pirate that you awake, a Ghostly Apparition will spawn and attack you, and you will have to enter the nearest Magic Forcefield to restart this seal. The best method here is to place a gold coin on all safe floorboards to try the right way. Use parcels if you are unable to walk diagonally.

Fourth Seal: The Riddle of the Captain Age


Polly and Skip, the parrots
Start telling them the number one. Now take their answers and add the numbers you are told. If one parrot tells you 1 and the other 3, the answer is 4. Now to the captains age: when the parrots tell you something like:
- Polly: Ish number.
- Skip: ...ONE!
It means you got the first digit of the age. Upon being told that the number is TWO you know the second digit. So basically you have to say hi, 1, 2, 3, 4, 1, 7, bye. Now walk east and tell the Skeleton Guard your answer, which is 47. You are now allowed to enter the last teleporter leading to the treasure chamber.
You can find your rewards in ornamented chests under rubble in the northeast and south corners. There is also a daily spawn of 3 Small Emeralds, 2 Small Amethysts, 1 Small Topaz and 162 Gold Coins in this room.


Enjoy your reward. You can leave by going through the teleporter to the west. Once you've left the treasure room, you can't go back to it. The same applies for leaving the island itself.